Raspberry Pi Gameboy and Mega Drive – My Retro Setup
In my quest for all things retro, I discovered that the company I bought a Mega Drive Pi case from makes a really convincing Game Boy case. I promise this isn’t sponsored.
It’s no secret that I have a love for retro, and I also have a love for Raspberry Pi. For ages I’ve always recommended setting up a Raspberry Pi as the ideal retro machine.
But recently I came across Retroflag, and their extremely faithful reconstructions of retro game console cases for the Raspberry Pi. They do (S)NES, Mega Drive and even a fully kitted out Gameboy.
I couldn’t resist, with some extreme case of lockdown boredom, I bought the MEGAPi. With some birthday cash I then bought the GPi.
MEGAPi, The Mega Drive Case
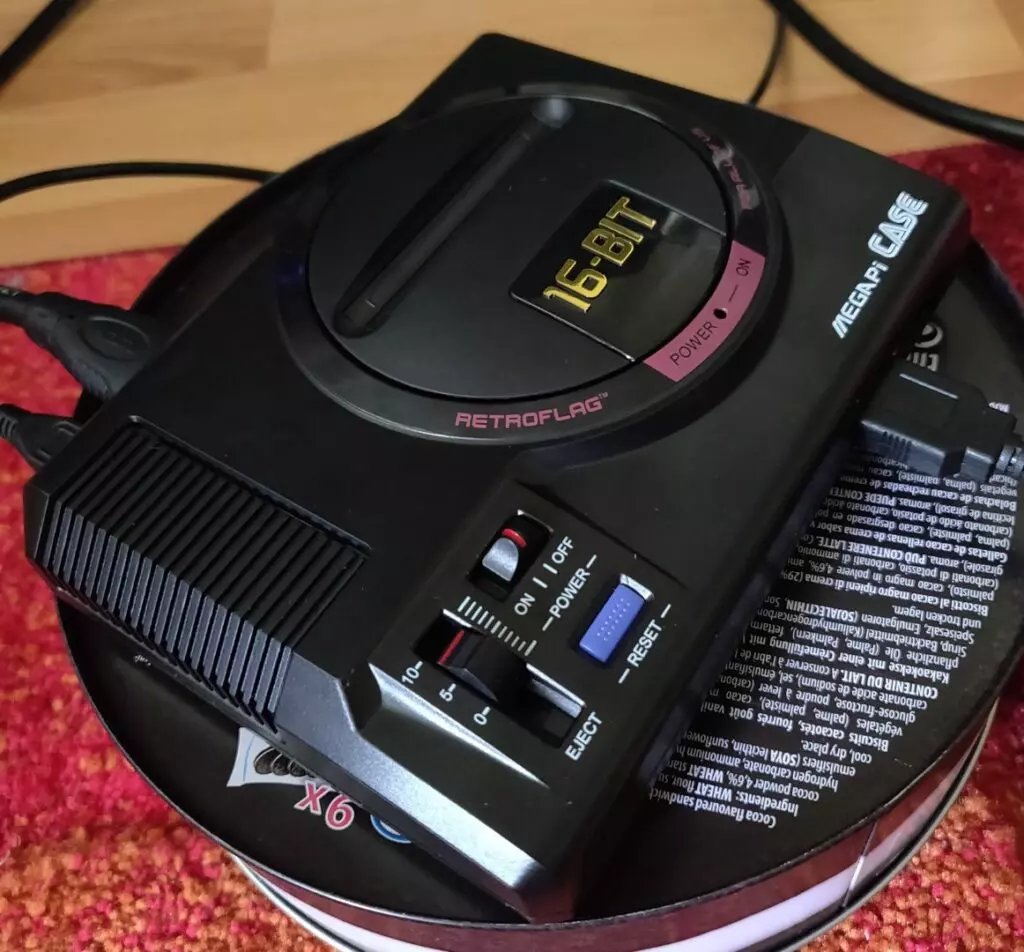
I am super impressed with the quality of this case. On the outside this looks very much like a genuine SEGA revival product! In goes my trusty Raspberry Pi 3.
Assembly was fairly easy to go about. The cables hooking up the button to the Raspberry Pi were very stiff and felt like I was about to break the assembly, but eventually seemed to mold into the recess.
I added the standard heat sinks to the Raspberry Pi (5mm height heat sink for the CPU to avoid fan collision), and a cooling fan. However, the fan is powered directly by the 5V without PWM or GPIO control, so it becomes annoying very quickly when it makes an awful whining noise.
For software I went down the RetroPie route. I added a range of games from the 70’s to the 90’s, and had an absolutely fantastic experience.
N64, Dreamcast and PlayStation 1 is where I began to experience problems. N64 seemingly ran on a slightly slower framerate than expected. The same problem was worse on Dreamcast, to the point it sadly became unplayable. PlayStation 1 ran absolutely perfectly, with a few problematic games here and there, and framerate drops on intensive screens. No overclocking was used in this experience.
But now I wanted portable (let’s just forget the one I made earlier)…
Retroflag GPi, the Modern Gameboy I Always Wanted
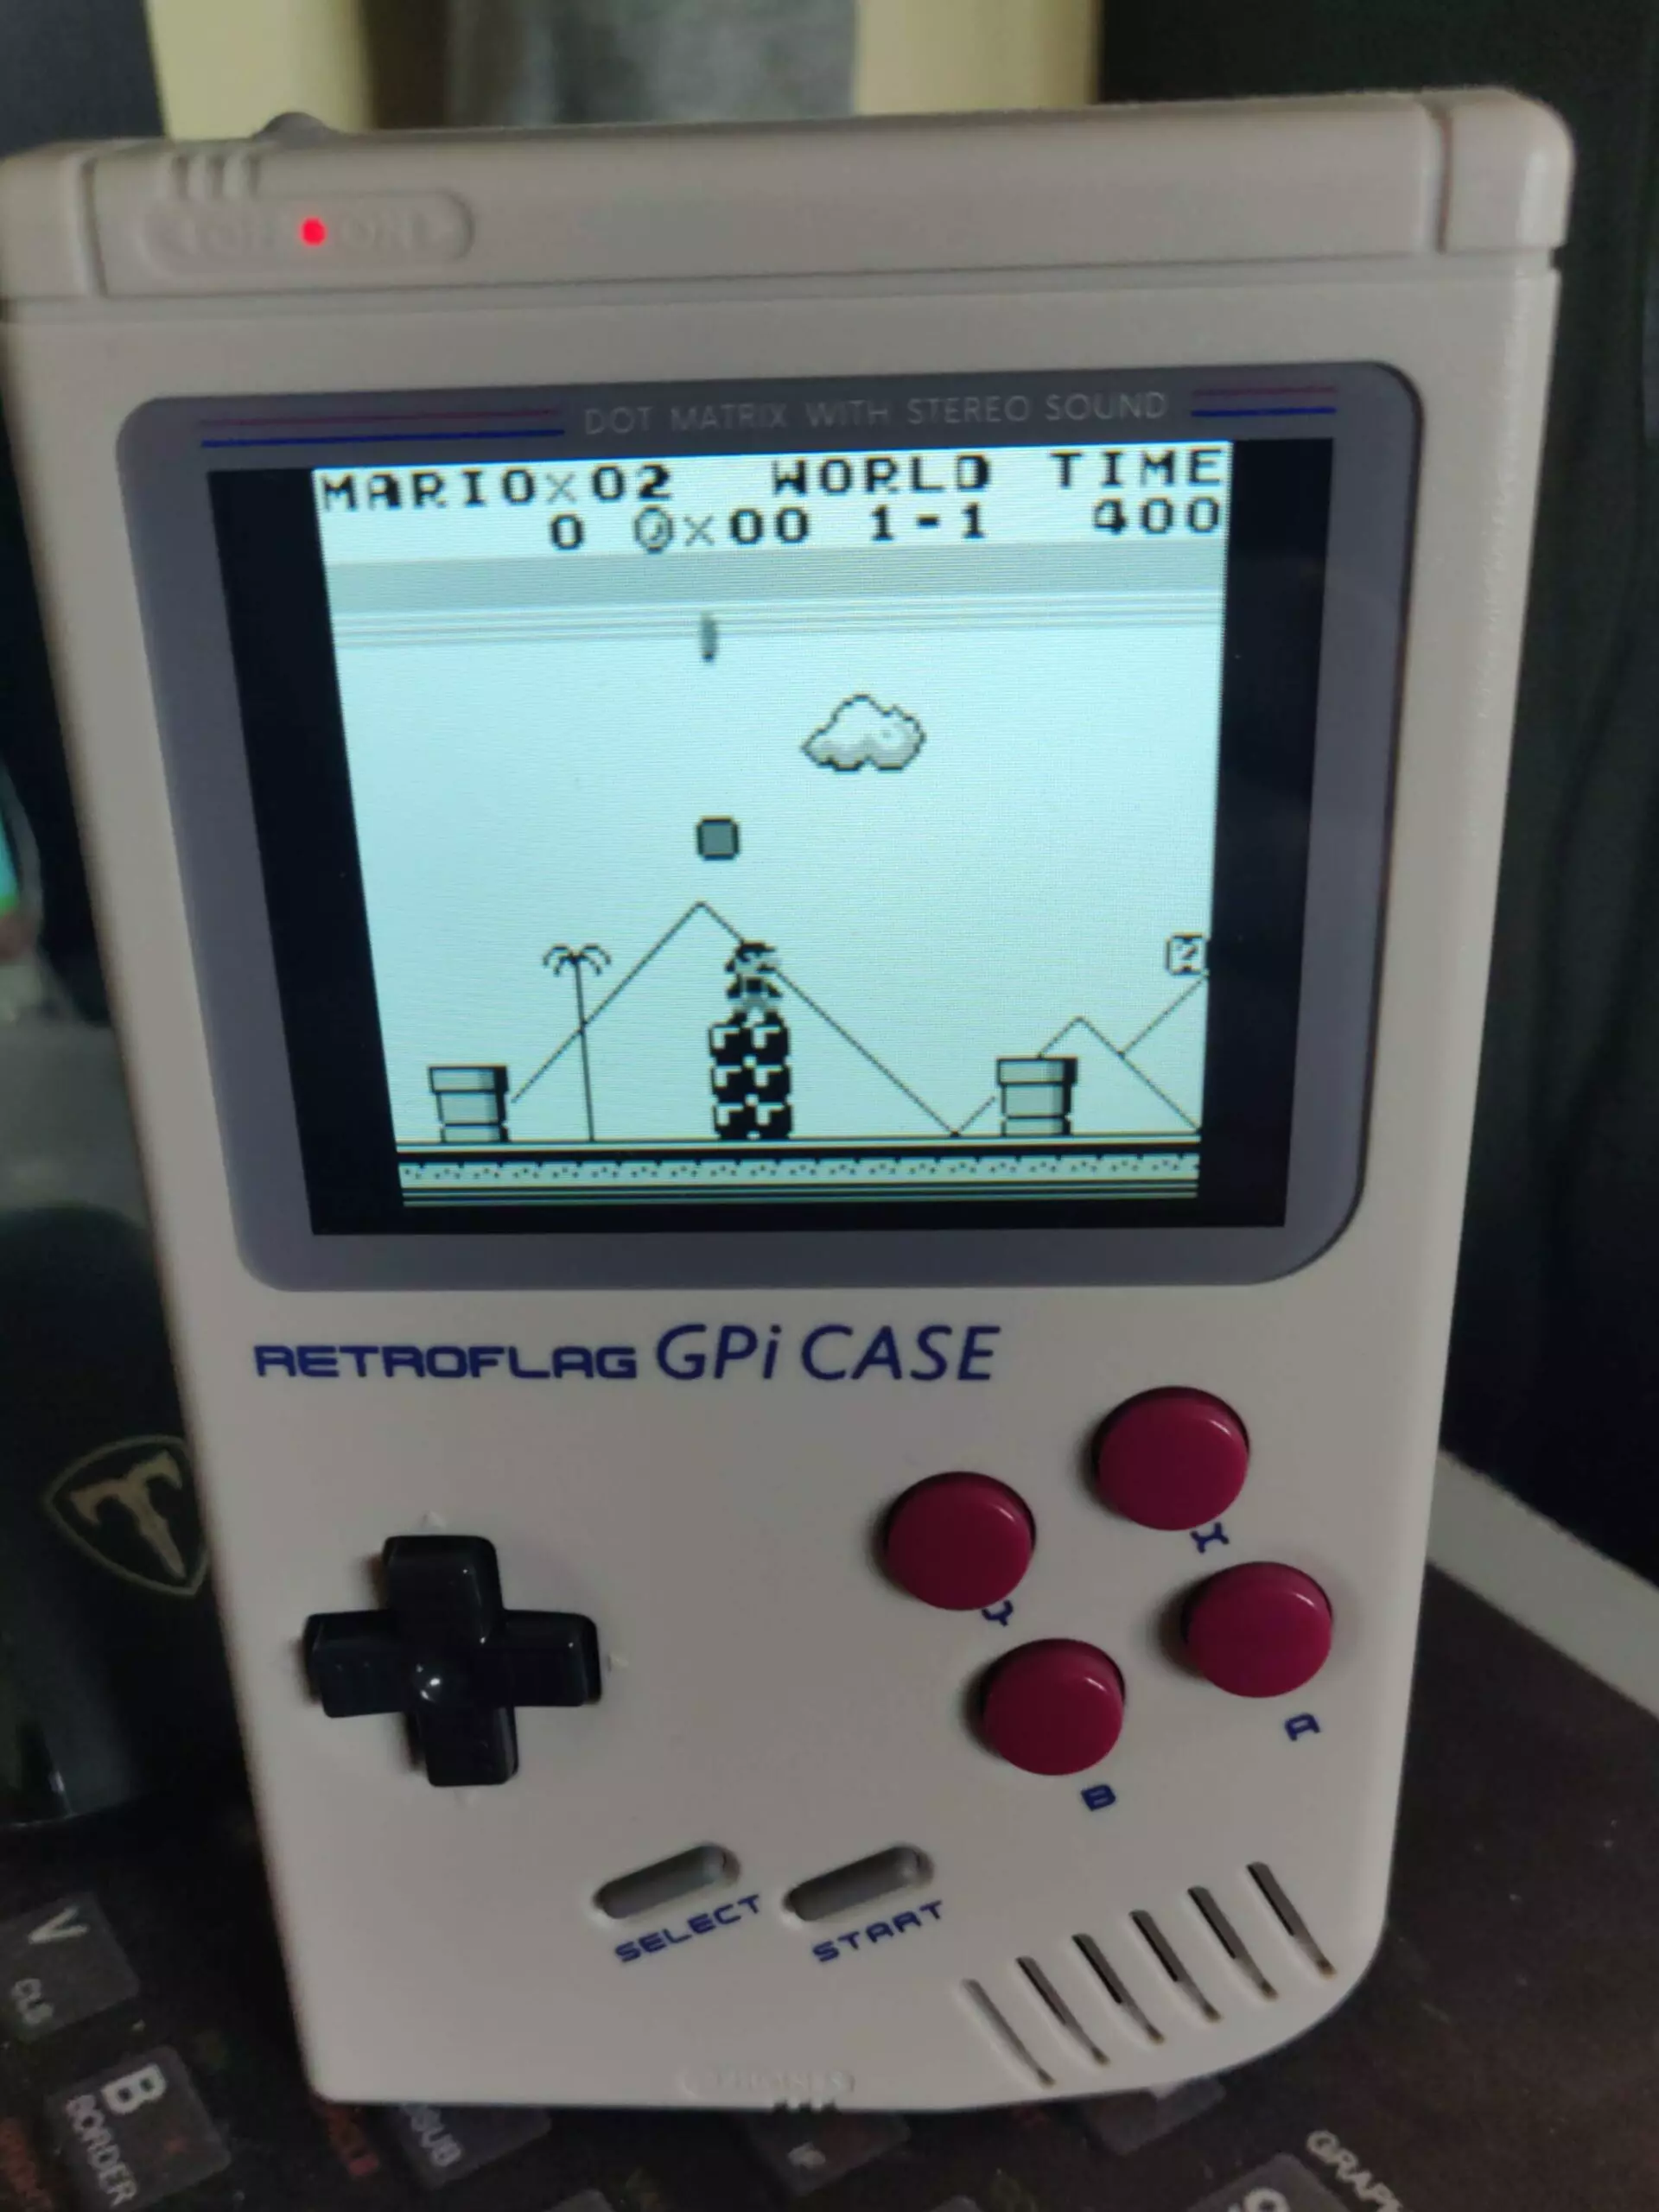
I simply cannot overstate how much I love the detail in this case. To make an absolute classic handheld into a form factor that closely resembles it, but also providing usable modern features, is a hellish a task.
And the GPi nails it!
It’s hard to say what has made it into this, because almost everything matches the original Gameboy. Instead, the differences are:
- There’s 4 purple buttons instead of 2 (A, B, X, Y).
- A and B are reversed.
- The actual dot matrix screen is replaced with a small LCD.
- But the dot matrix banner is still there!
- Contrast slider now controls the brightness.
- Cartridge slot is there, but houses the Raspberry Pi instead of actual Gameboy cartridges.
- Power supply cable is for a lower voltage, and runs off phone chargers.
- There’s a hidden MicroUSB slot in the battery door.
I put three high capacity NiMH batteries (2500mAh) and achieved a staggering 6 hours of gameplay on battery! Bring along the cable and a 10k mAh pack and you could be gaming for days.
The screen is 320 x 240, so don’t expect any miracles coming from the screen. It also only supports the Raspberry Pi Zero (W), so gaming beyond the late 90’s is a complete no.
Update – Getting RetroPie to work with the Retroflag GPi case
I used Recalbox for a while since it was much easier to install, however I decided to try getting RetroPie to work since it’s what I’m used to. Do not do this on battery power as this takes about ~15-20 minutes to complete. Here’s what I did:
- Installed the latest RetroPie image for Raspberry Pi Zero.
- Enabled ssh and WiFi before ejecting MicroSD.
- Make a blank ssh file in BOOT – SSH will now be available.
- Make a wpa_supplicant.conf file for WiFi – This guide explains how to configure this.
- Plug MicroSD into GPi and boot it up.
- Wait 2-3 minutes, then find the IP address of the Pi via your router’s web GUI.
- SSH in, and run
sudo ~/RetroPie-Setup/retropie_setup.sh.- I’d add this to your .bash_aliases file, you’ll use this command a lot.
- Run through the upgrade process to get the latest RetroPie.
- Install the GPi safe shutdown drivers, by running:
wget -O - "[https://raw.githubusercontent.com/RetroFlag/retroflag-picase/master/install_gpi.sh](https://raw.githubusercontent.com/RetroFlag/retroflag-picase/master/install_gpi.sh)" | sudo bash - Edit /boot/cmdline.txt to add the following to the end of the file (all on one line):
snd_bcm2835.enable_hdmi=1 snd_bcm2835.enable_headphones=1 snd_bcm2835.enable_compat_alsa=1 - Once complete, shutdown and eject the MicroSD.
- Install the screen patch you can find here.
- Extract the subfolder patch_files into your Pi’s boot MicroSD partition, overwriting when prompted.
And relax, everything should (hopefully) be working now. RetroPie has no on-screen keyboard, so if you want to scrape for your games, follow this guide instead on how to do it over SSH (arguably a better way anyway).